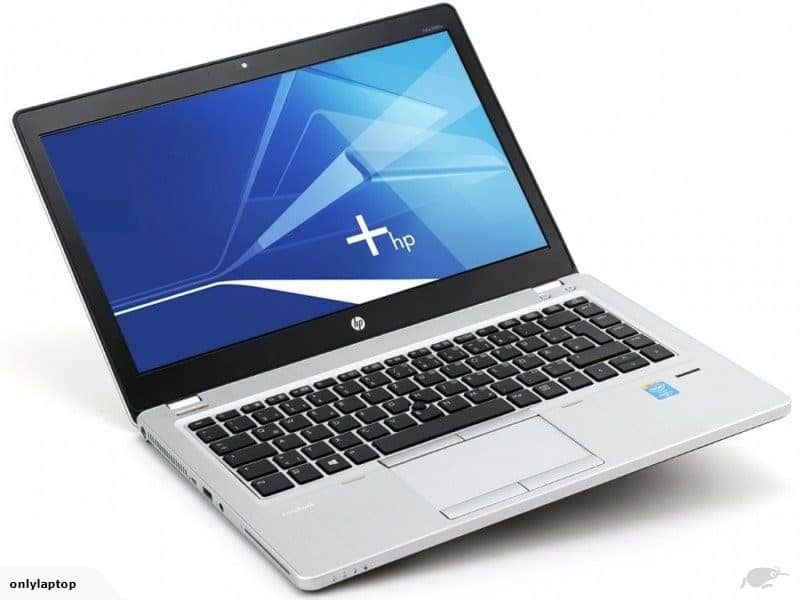
HP laptop screen repair.
In this Video we will show you how to replace a screen on a HP Elitebook folio 9480m. Hope this video help you replace your laptop screen.
Book a repair job here.
Prefer to DIY? Buy folio 9480m screen here.
Buy Adhesive / double sided tape for laptop screen repair here.
HP Elitebook folio 9480m Screen repair
- Today we are doing a repair, replacing the screen for a HP Elitebook Folio 9480m.
- Always start by switching off the laptop and removing the battery to avoid any damage to the screen or to the motherboard.
- This specific laptop (HP Elitebook Folio 9480m) has no screws holding the bezel and plates (the LCD Bezel), it’s just have by adhesive and clips.
so it usually a bit harder to remove due to the adhesive and because of the bezel quite thin, just keep your hands close to each other. - One hand is rolling the bezel and the other hand is peeling off the back cover.
And it’s a bit of harder to remove when it comes to the hinges covers,around the hinges covers which have to a bit more efforts. - The Adhesive as you can see at the back, so just have to remove any access adhesive and will get it replace later on.
- Remove the screws of the screen, to the screen forward. LCD cable held by a very strong adhesive a very strong sticky type so be careful when you remove it.
- The New screen when you plug in the LCD cable just make sure it’s align well as lcd cable is easily damage so you wanna try to avoid that, or it will create a big job if it does get damage.
- Now you just get the screen back in place but don’t screw the screen at this stage wait until it tested and make sure everything is working fine and then screw it back in place.
- Now It lights-up, screen is working fine, so what will we do now is just to remove the screen protector and then screw it back in place.
- You do have to align the screen so the screw whole align.
- We just try to apply the adhesive and remove the excess bit.
- We use this adhesive with a very good quality once, can buy them from Laptopparts.com.au OR laptoplcdscreen.com.au , we operate these two websites as well
- Now put the bezel back in place, make sure you work on bottom part first to get it around the hinges covers and then you do the top and the sides. also make the sure the bezel is clipped very well on around.
- Job is done, all good.
- If you have any inquiries or would like us to take on a repair for you.. Please call us on 02 8081 2555


